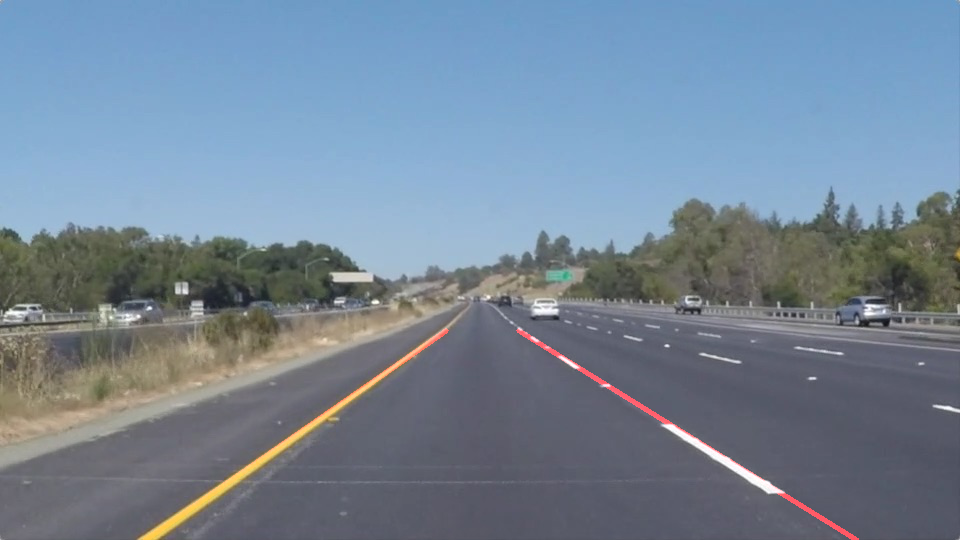
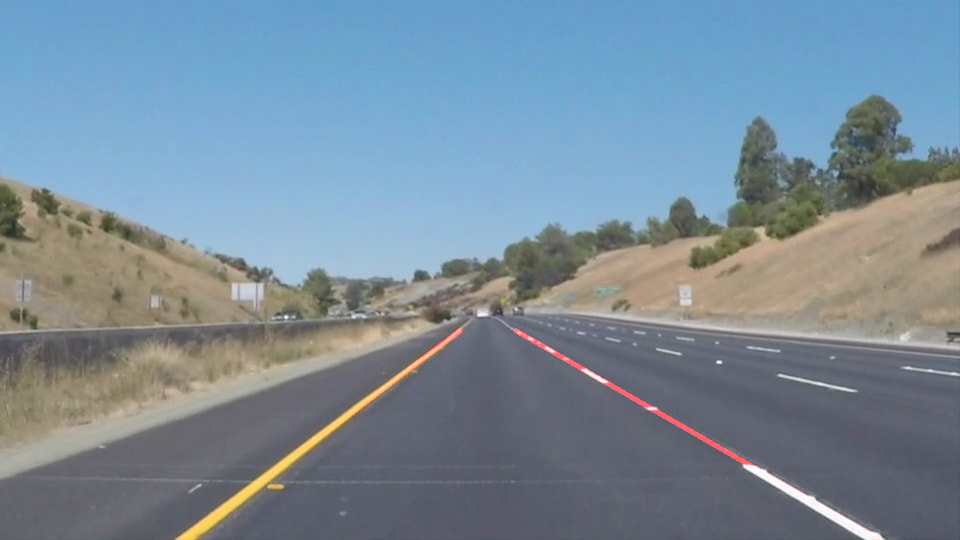
Project #1 - Finding the Lane Lines on the Road
We need to import the initial packages
In [237]:
#importing some useful packages
import matplotlib.pyplot as plt
import matplotlib.image as mpimg
import numpy as np
import cv2
import os
import random
%matplotlib inline


# Import everything needed to edit/save/watch video clips
from moviepy.editor import VideoFileClip
from IPython.display import display, HTML
Create helper functions
Provided by the (project seed)[https://github.com/udacity/CarND-LaneLines-P1/blob/master/P1.ipynb]
In [252]:
import math

def grayscale(img):
    """Applies the Grayscale transform
    This will return an image with only one color channel
    but NOTE: to see the returned image as grayscale
    (assuming your grayscaled image is called 'gray')
    you should call plt.imshow(gray, cmap='gray')"""
    #return cv2.cvtColor(img, cv2.COLOR_RGB2GRAY)
    # Or use BGR2GRAY if you read an image with cv2.imread()
    return cv2.cvtColor(img, cv2.COLOR_BGR2GRAY)

def canny(img, low_threshold, high_threshold):
    """Applies the Canny transform"""
    return cv2.Canny(img, low_threshold, high_threshold)

def gaussian_blur(img, kernel_size):
    """Applies a Gaussian Noise kernel"""
    return cv2.GaussianBlur(img, (kernel_size, kernel_size), 0)

def region_of_interest(img, vertices):
    """
    Applies an image mask.

    Only keeps the region of the image defined by the polygon
    formed from `vertices`. The rest of the image is set to black.
    """
    #defining a blank mask to start with
    mask = np.zeros_like(img)

    #defining a 3 channel or 1 channel color to fill the mask with depending on the input image
    if len(img.shape) > 2:
        channel_count = img.shape[2]  # i.e. 3 or 4 depending on your image
        ignore_mask_color = (255,) * channel_count
    else:
        ignore_mask_color = 255

    #filling pixels inside the polygon defined by "vertices" with the fill color
    cv2.fillPoly(mask, vertices, ignore_mask_color)

    #returning the image only where mask pixels are nonzero
    masked_image = cv2.bitwise_and(img, mask)
    return masked_image

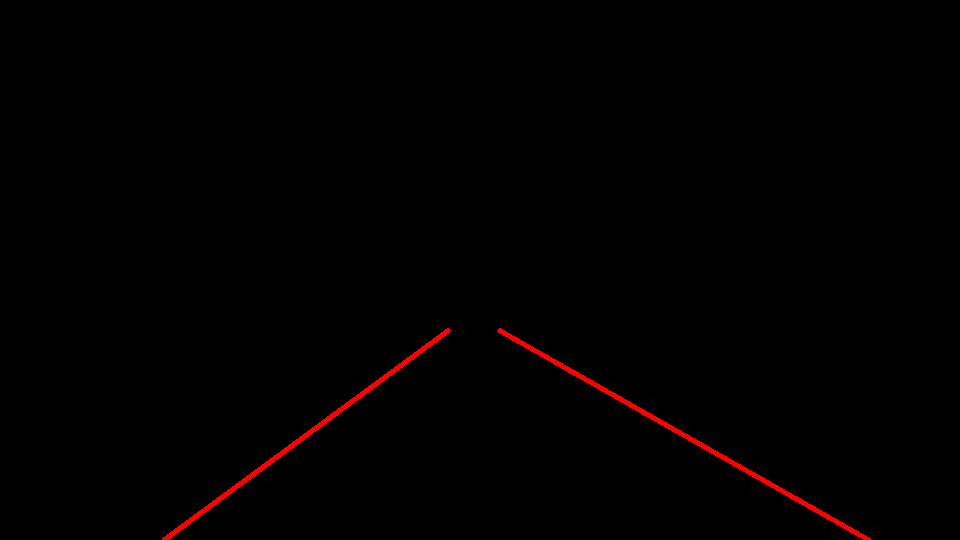
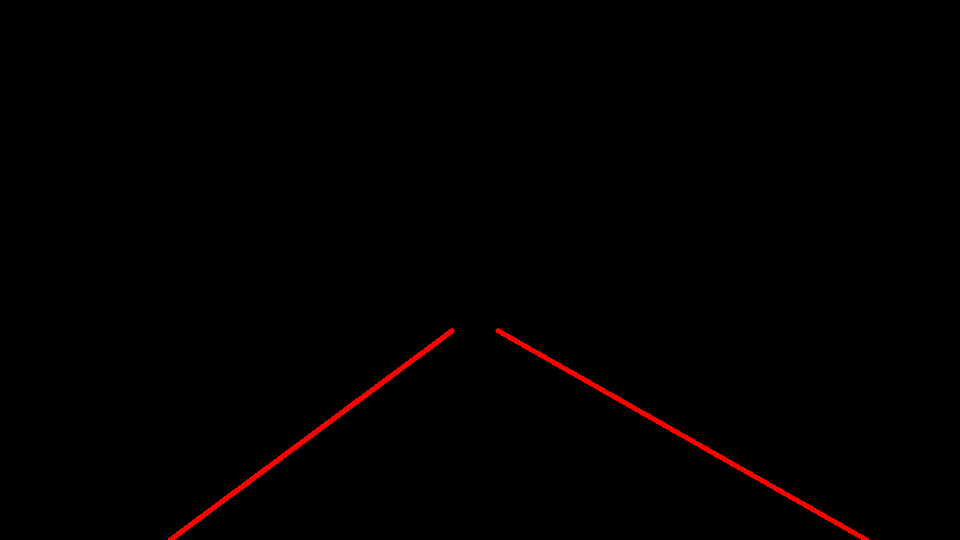
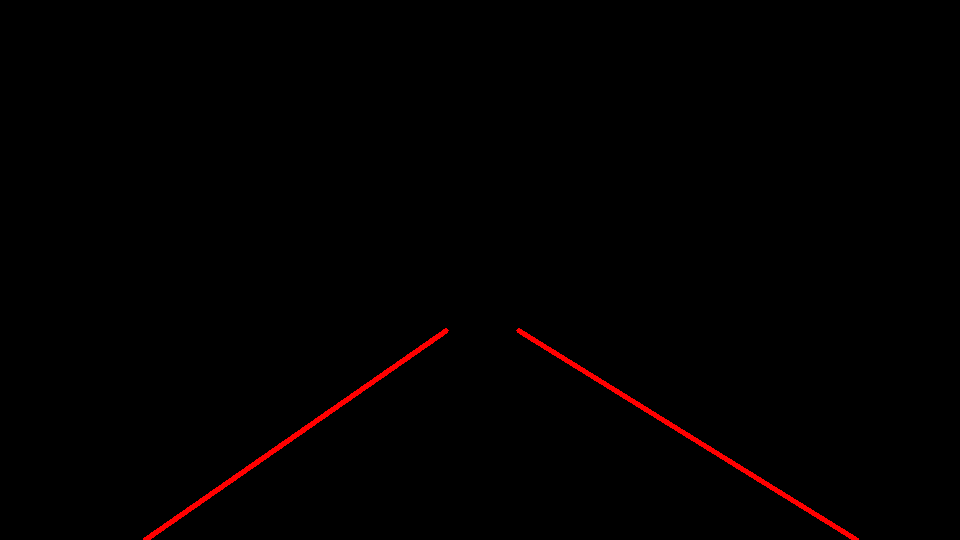
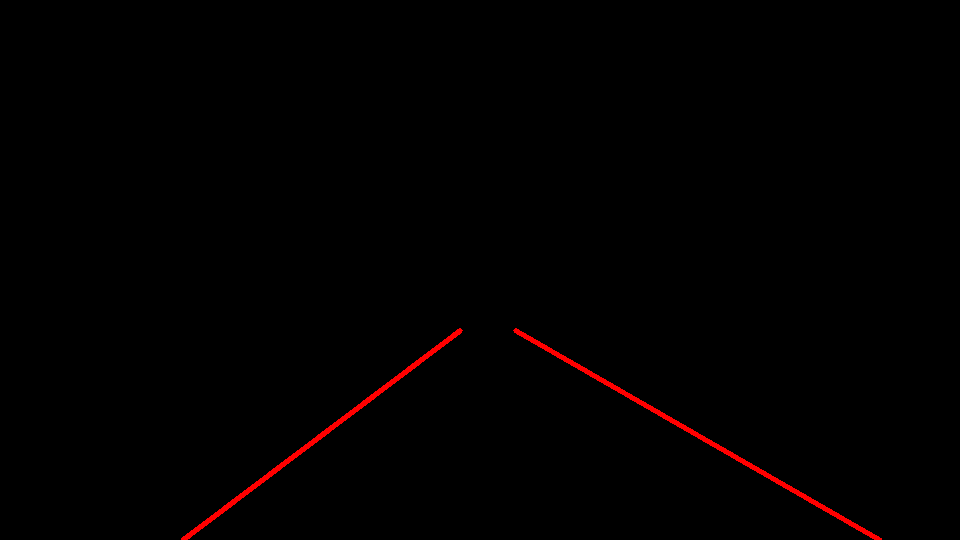
def drawLine(img, x, y, color=[255, 0, 0], thickness=20):
    """
    Adjust a line to the points [`x`, `y`] and draws it on the image `img` using `color` and `thickness` for the line.
    """
    if len(x) == 0:
        return

    lineParameters = np.polyfit(x, y, 1)

    m = lineParameters[0]
    b = lineParameters[1]

    maxY = img.shape[0]
    maxX = img.shape[1]
    y1 = maxY
    x1 = int((y1 - b)/m)
    y2 = int((maxY/2)) + 60
    x2 = int((y2 - b)/m)
    cv2.line(img, (x1, y1), (x2, y2), [255, 0, 0], 4)

def draw_lines(img, lines, color=[255, 0, 0], thickness=20):
    """
    NOTE: this is the function you might want to use as a starting point once you want to
    average/extrapolate the line segments you detect to map out the full
    extent of the lane (going from the result shown in raw-lines-example.mp4
    to that shown in P1_example.mp4).

    Think about things like separating line segments by their
    slope ((y2-y1)/(x2-x1)) to decide which segments are part of the left
    line vs. the right line.  Then, you can average the position of each of
    the lines and extrapolate to the top and bottom of the lane.

    This function draws `lines` with `color` and `thickness`.
    Lines are drawn on the image inplace (mutates the image).
    If you want to make the lines semi-transparent, think about combining
    this function with the weighted_img() function below
    """

    leftPointsX = []
    leftPointsY = []
    rightPointsX = []
    rightPointsY = []

    for line in lines:
        for x1,y1,x2,y2 in line:
            m = (y1 - y2)/(x1 - x2)
            if m < 0:
                leftPointsX.append(x1)
                leftPointsY.append(y1)
                leftPointsX.append(x2)
                leftPointsY.append(y2)
            else:
                rightPointsX.append(x1)
                rightPointsY.append(y1)
                rightPointsX.append(x2)
                rightPointsY.append(y2)

    drawLine(img, leftPointsX, leftPointsY, color, thickness)

    drawLine(img, rightPointsX, rightPointsY, color, thickness)

def hough_lines(img, rho, theta, threshold, min_line_len, max_line_gap):
    """
    `img` should be the output of a Canny transform.

    Returns an image with hough lines drawn.
    """
    lines = cv2.HoughLinesP(img, rho, theta, threshold, np.array([]), minLineLength=min_line_len, maxLineGap=max_line_gap)
    line_img = np.zeros((img.shape[0], img.shape[1], 3), dtype=np.uint8)
    draw_lines(line_img, lines)
    return line_img

# Python 3 has support for cool math symbols.

def weighted_img(img, initial_img, α=0.8, β=1., λ=0.):
    """
    `img` is the output of the hough_lines(), An image with lines drawn on it.
    Should be a blank image (all black) with lines drawn on it.

    `initial_img` should be the image before any processing.

    The result image is computed as follows:

    initial_img * α + img * β + λ
    NOTE: initial_img and img must be the same shape!
    """
    return cv2.addWeighted(initial_img, α, img, β, λ)
In [253]:
def showImagesInHtml(images, dir):
    """
    Shows the list of `images` names on the directory `dir` as HTML embeded on the page.
    """
    randomNumber = random.randint(1, 100000)
    buffer = "<div>"
    for img in images:
        imgSource = dir + '/' + img + "?" + str(randomNumber)
        buffer += """<img src="{0}" width="300" height="110" style="float:left; margin:1px"/>""".format(imgSource)
    buffer += "</div>"
    display(HTML(buffer))

def saveImages(images, outputDir, imageNames, isGray=0):
    """
    Writes the `images` to the `outputDir` directory using the `imagesNames`.
    It creates the output directory if it doesn't exists.

    Example:

    saveImages([img1], 'tempDir', ['myImage.jpg'])

    Will save the image on the path: tempDir/myImage.jpg

    """
    if not os.path.exists(outputDir):
        os.makedirs(outputDir)

    zipped = list(map(lambda imgZip: (outputDir + '/' + imgZip[1], imgZip[0]), zip(images, imageNames)))
    for imgPair in zipped:
        if isGray:
            plt.imsave(imgPair[0], imgPair[1], cmap='gray')
        else :
            plt.imsave(imgPair[0], imgPair[1])

def doSaveAndDisplay(images, outputDir, imageNames, somethingToDo, isGray=0):
    """
    Applies the lambda `somethingToDo` to `images`, safe the results at the directory `outputDir`,
    and render the results in html.

    It returns the output images.
    """
    outputImages = list(map(somethingToDo, images))
    saveImages(outputImages, outputDir, imageNames, isGray)
    showImagesInHtml(imageNames, outputDir)
    return outputImages
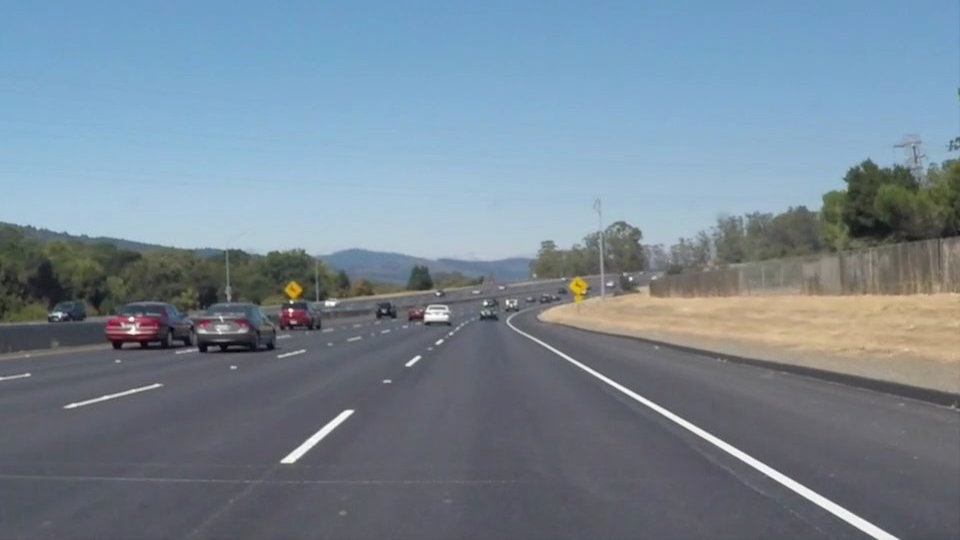
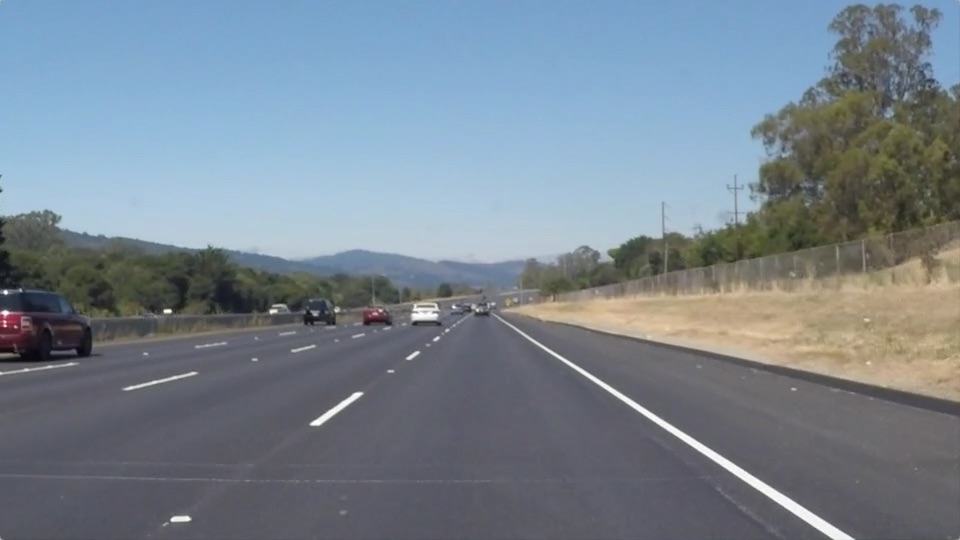
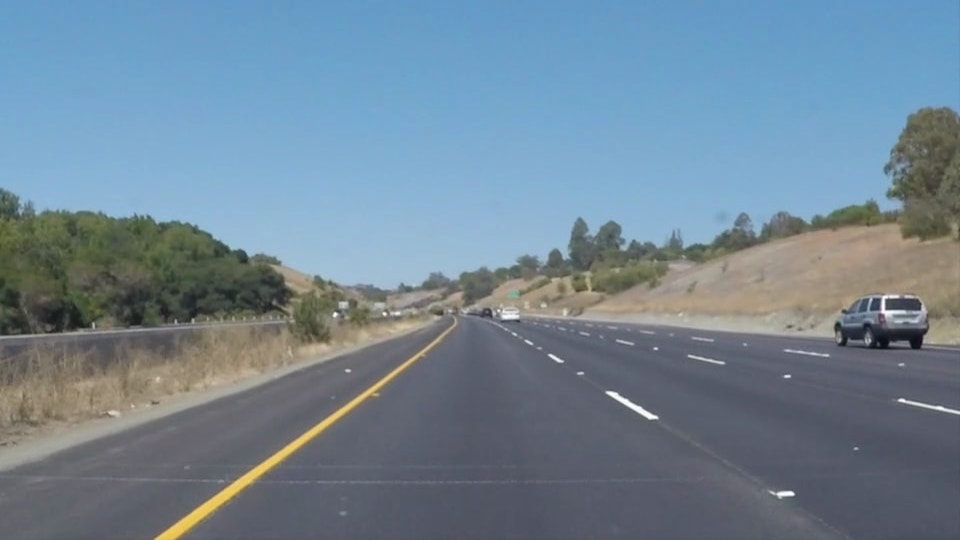
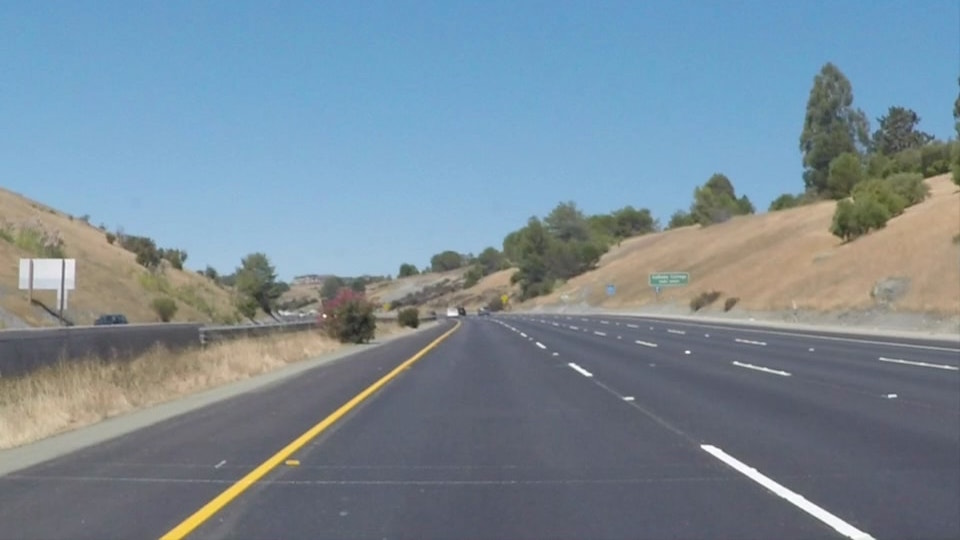
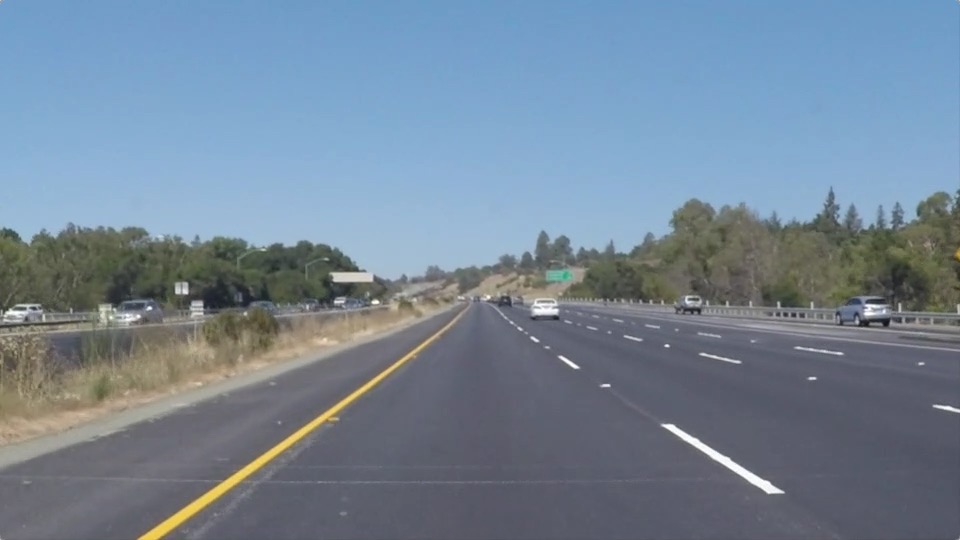
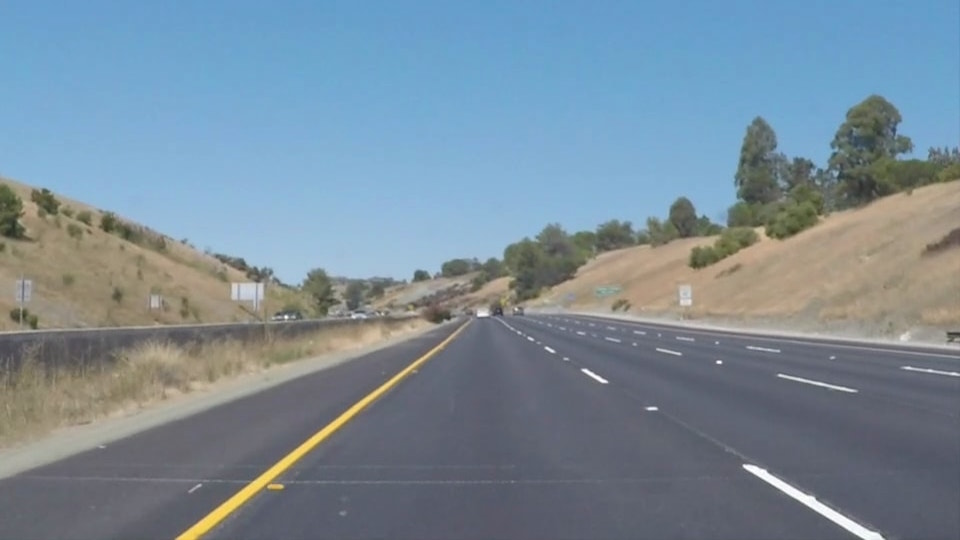
Loading test images
In [254]:
testImagesDir = 'test_images'
testImageNames = os.listdir(testImagesDir)
showImagesInHtml(testImageNames, testImagesDir)
testImages = list(map(lambda img: plt.imread(testImagesDir + '/' + img), testImageNames))
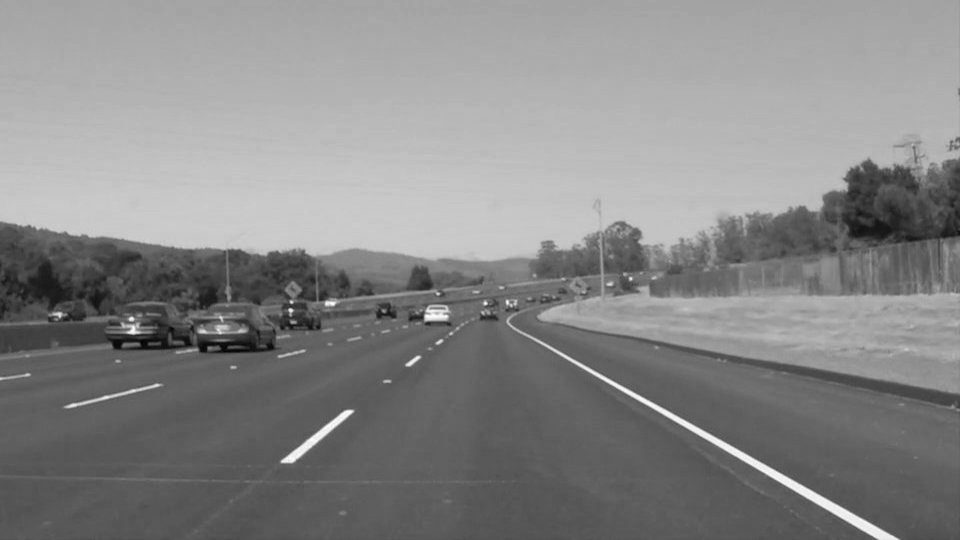
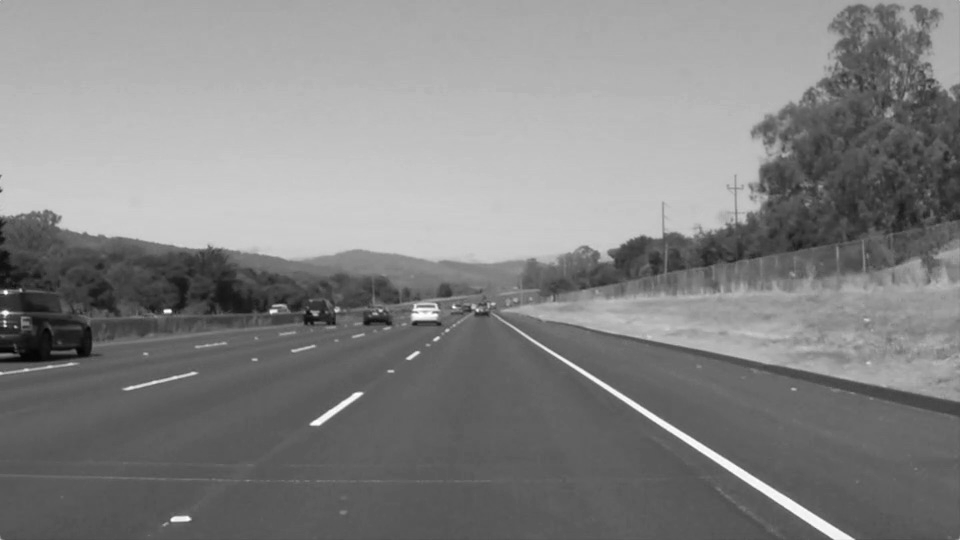
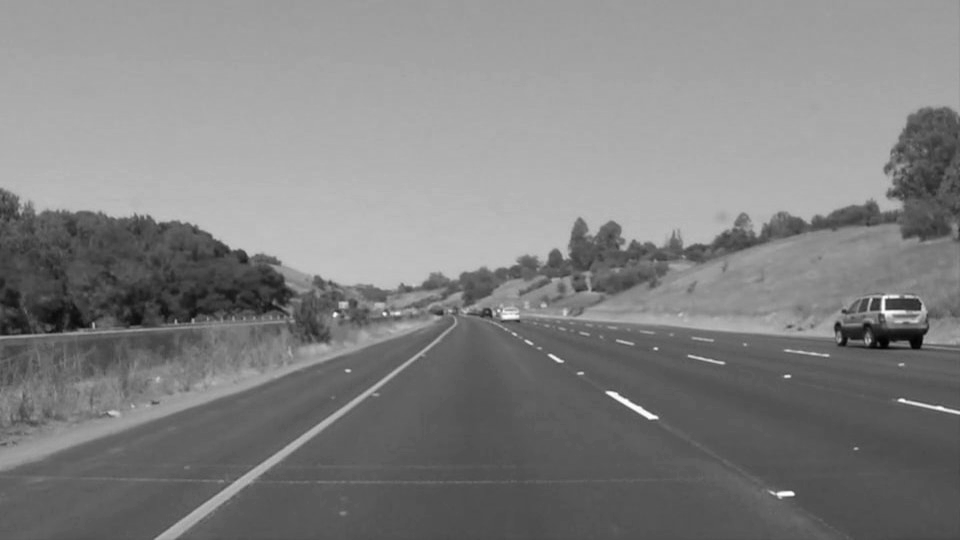
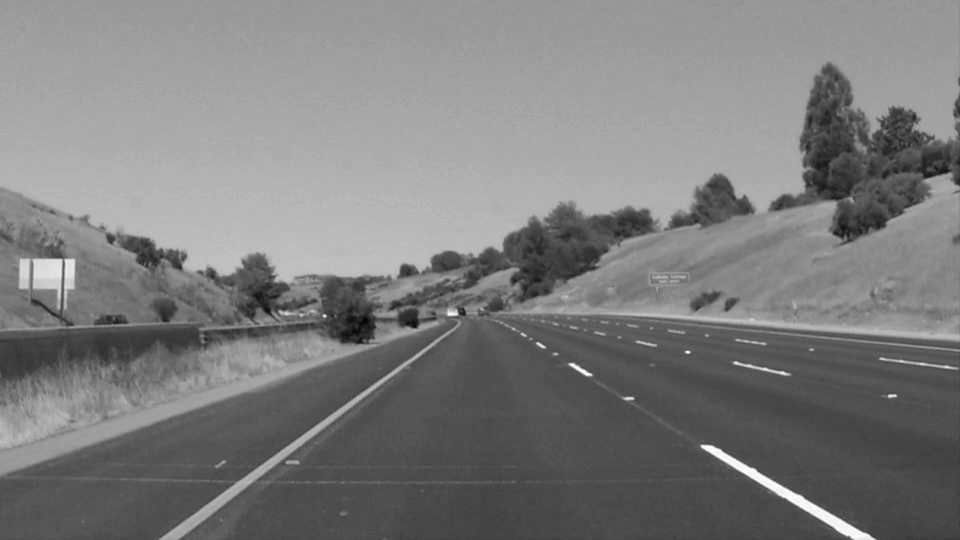
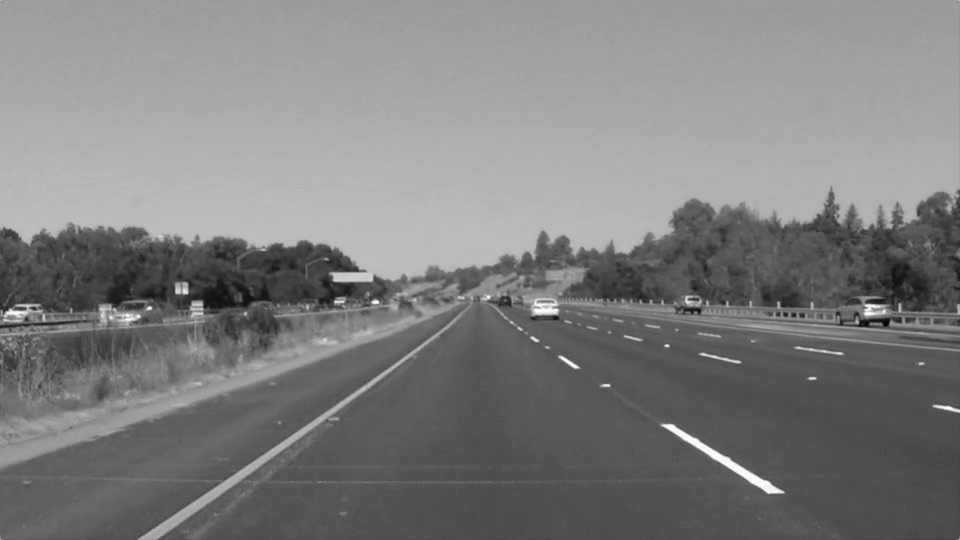
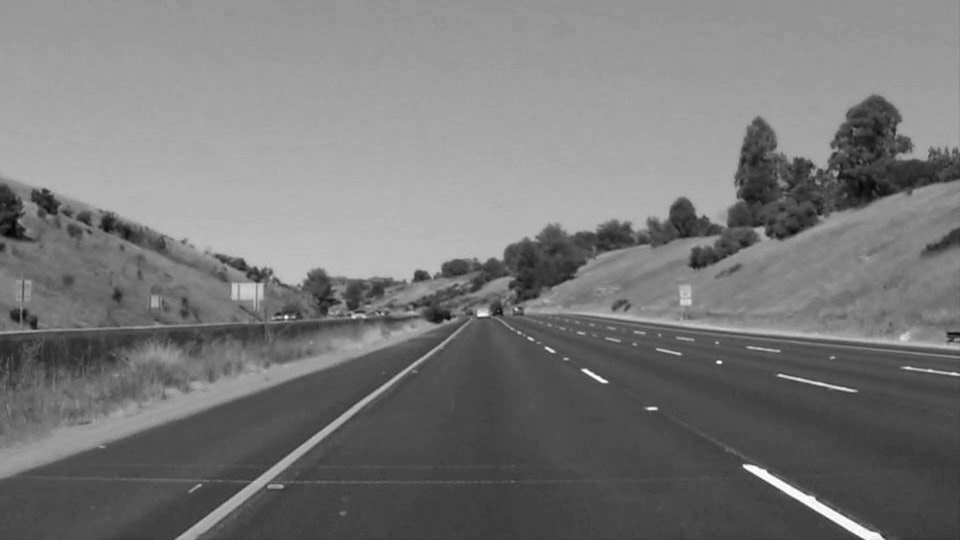
Converting images into gray scale
In [255]:
def grayAction(img):
    return grayscale(img)

testImagesGray = doSaveAndDisplay(testImages, 'test_images_gray', testImageNames, grayAction, 1)
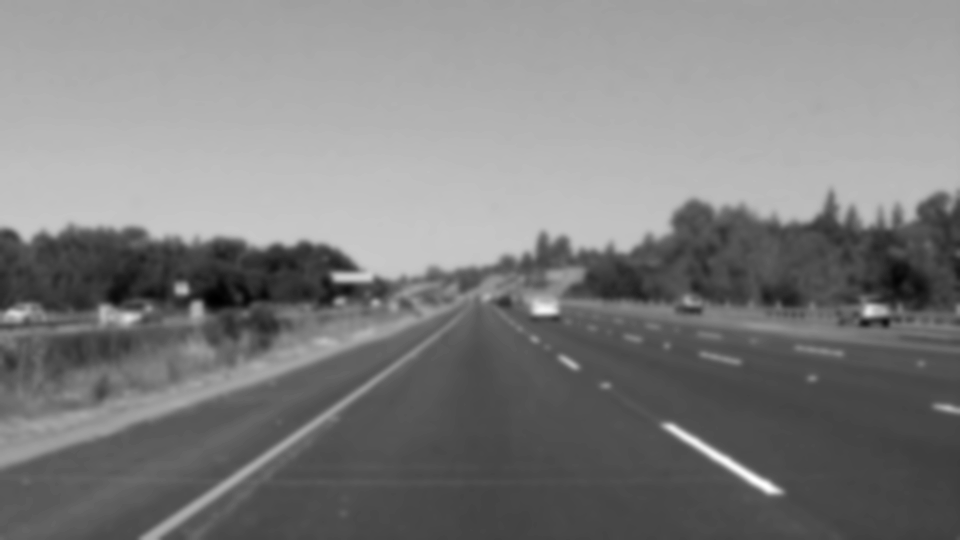
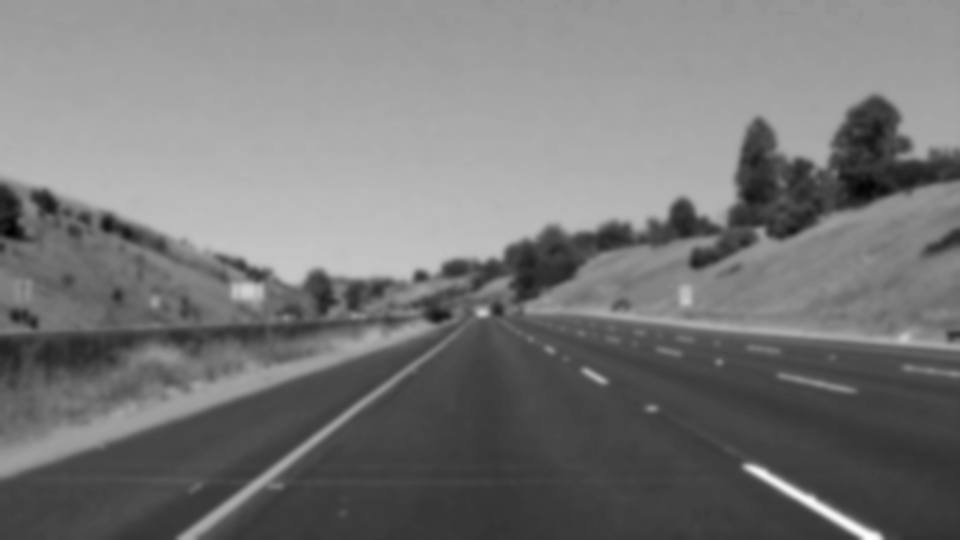
Applying Gaussian smoothing
In [256]:
blur_kernel_size = 15
blurAction = lambda img:gaussian_blur(img, blur_kernel_size)

testImagesBlur = doSaveAndDisplay(testImagesGray, 'test_images_blur', testImageNames, blurAction, 1)
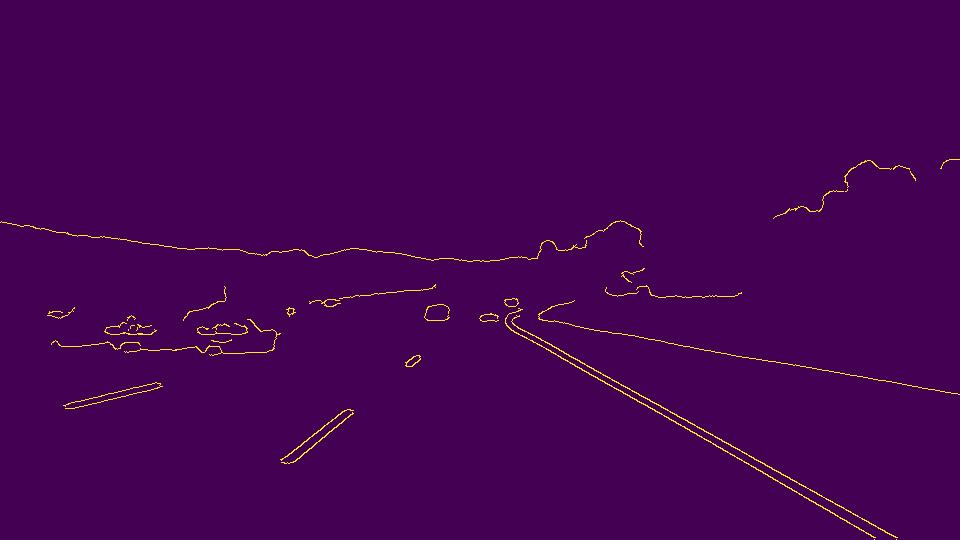
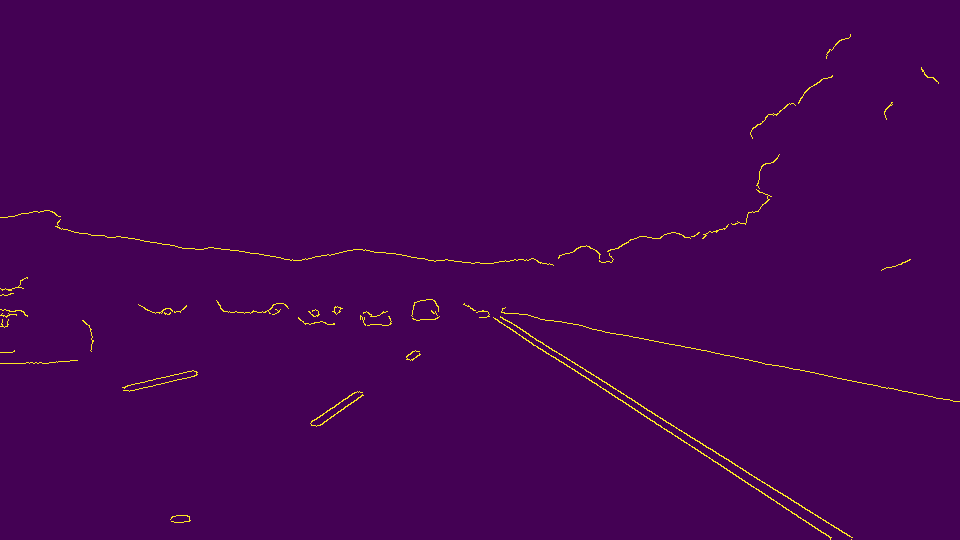
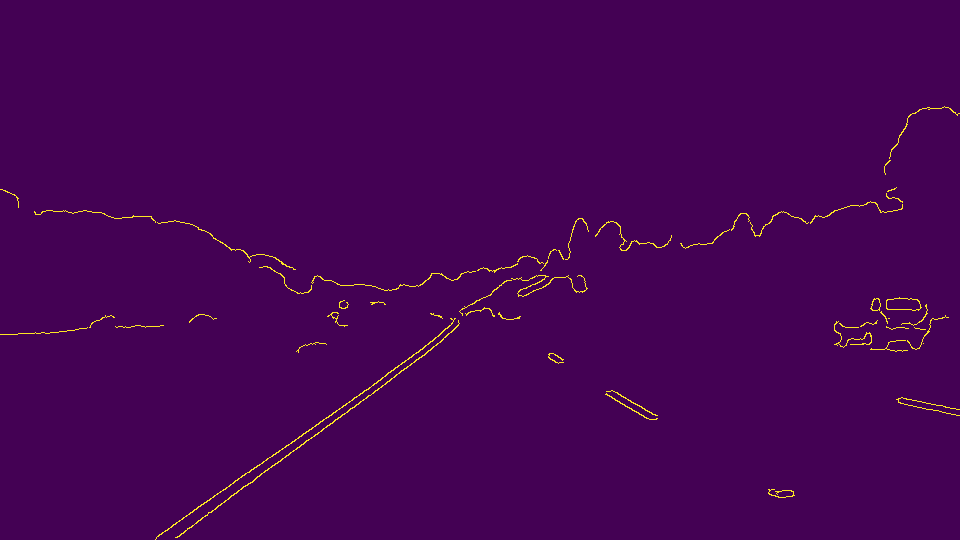
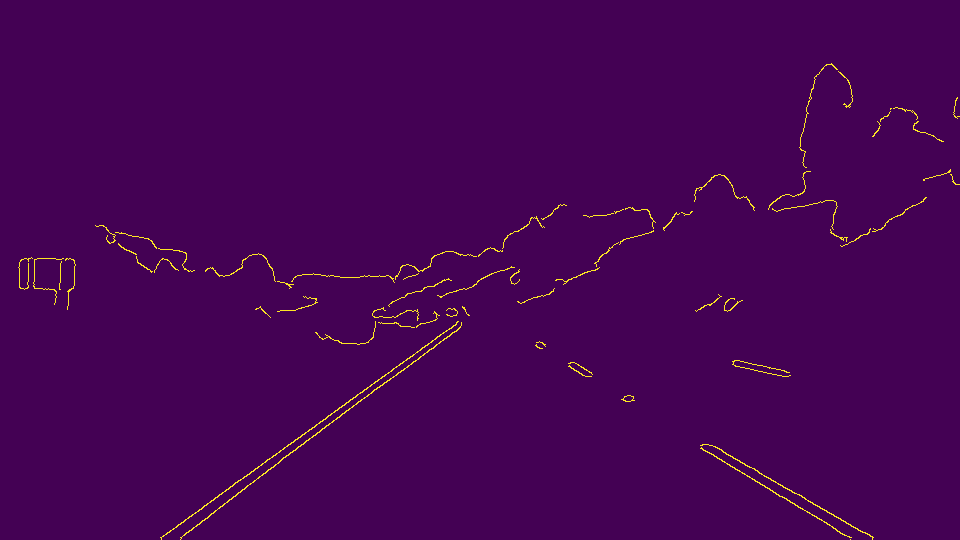
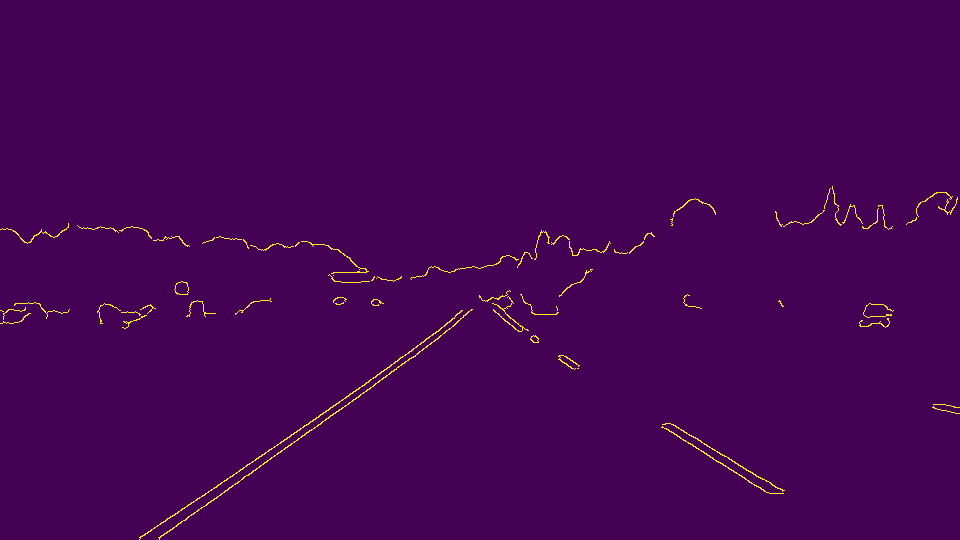
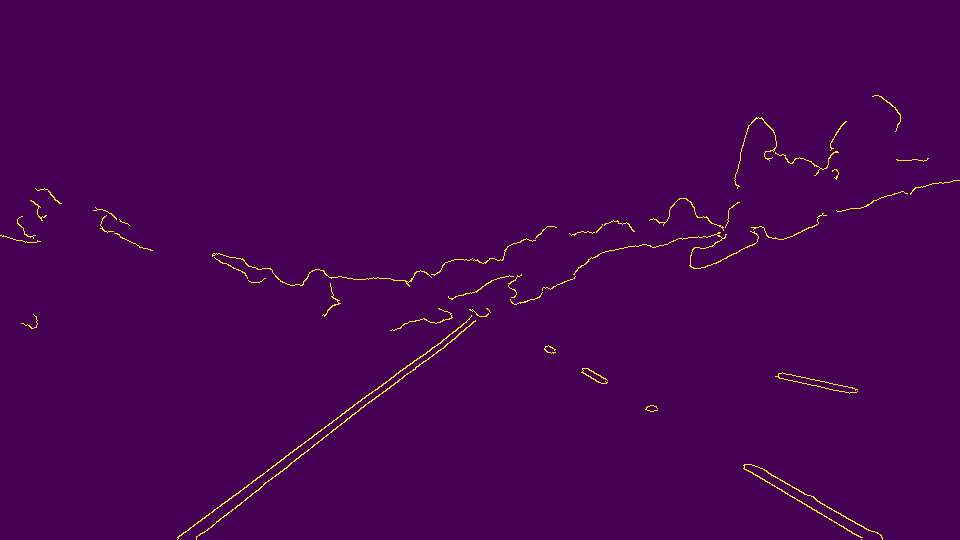
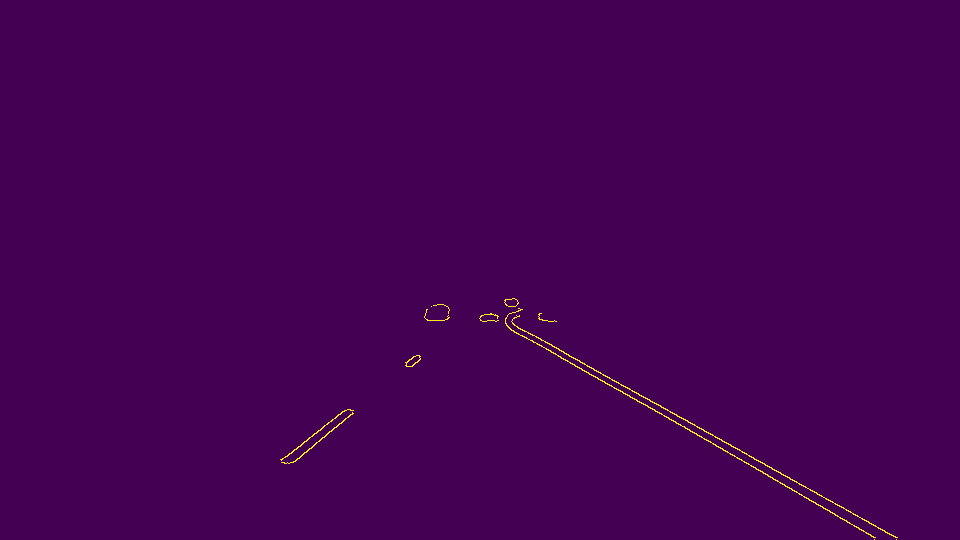
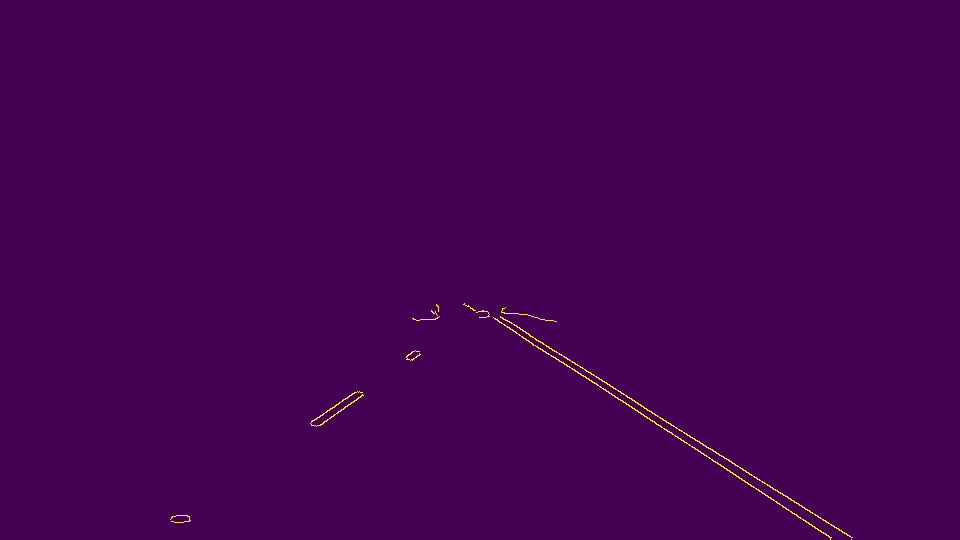
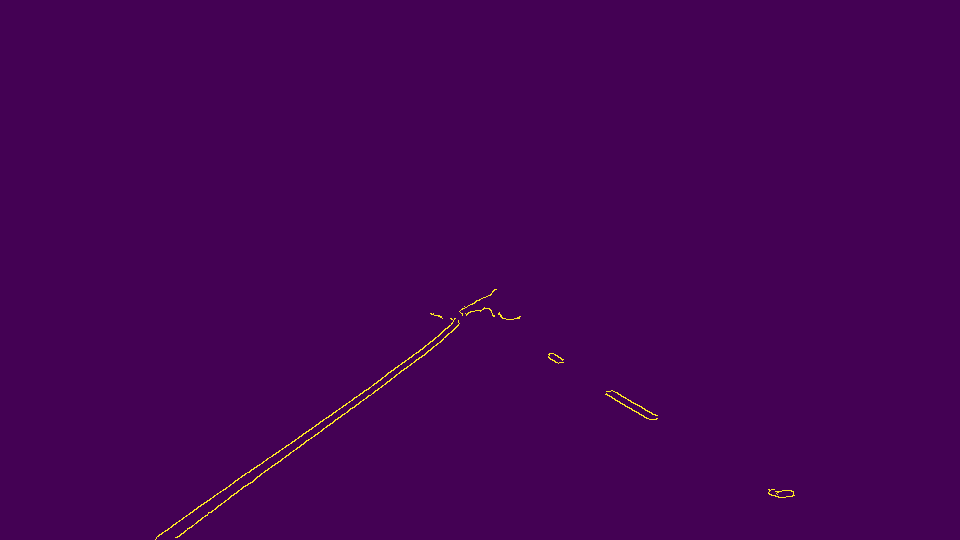
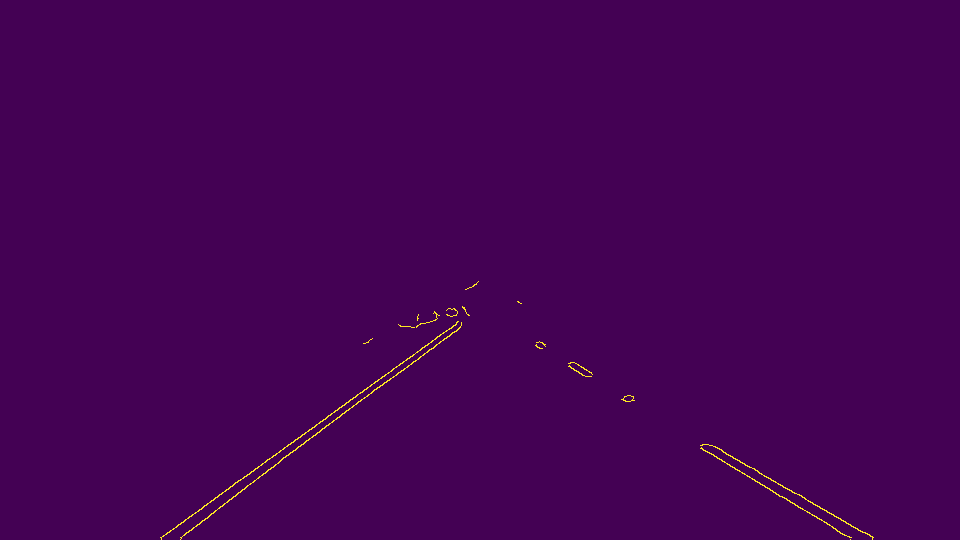
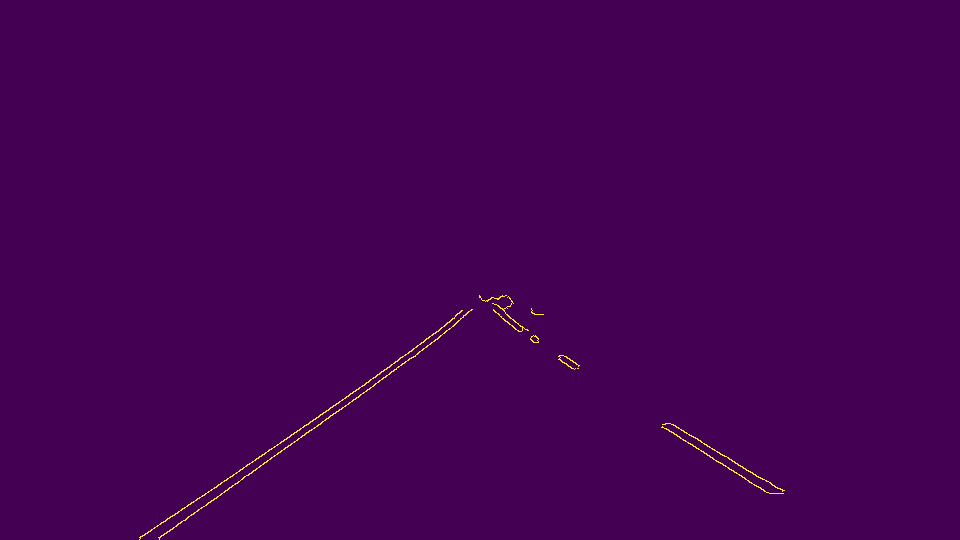
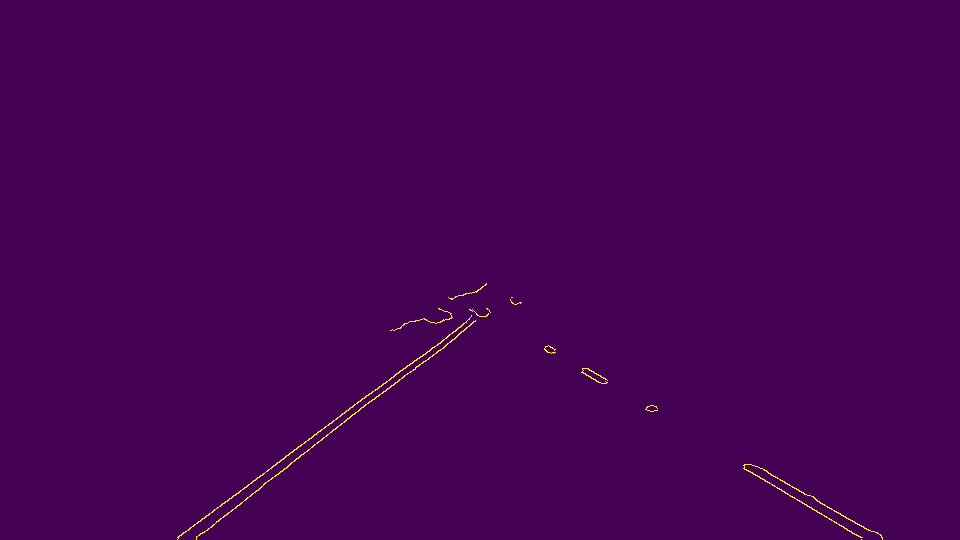
Applying Canny transform
In [257]:
canny_low_threshold = 20
canny_high_threshold = 100
cannyAction = lambda img:canny(img, canny_low_threshold, canny_high_threshold)
testImagesCanny = doSaveAndDisplay(testImagesBlur, 'test_images_canny', testImageNames, cannyAction)
Applying Region of Interest
In [258]:
def maskAction(img):
    ysize = img.shape[0]
    xsize = img.shape[1]
    region = np.array([ [0, ysize], [xsize/2,(ysize/2)+ 10], [xsize,ysize] ], np.int32)
    return region_of_interest(img, [region])

testImagesMasked = doSaveAndDisplay(testImagesCanny, 'test_images_region', testImageNames, maskAction)
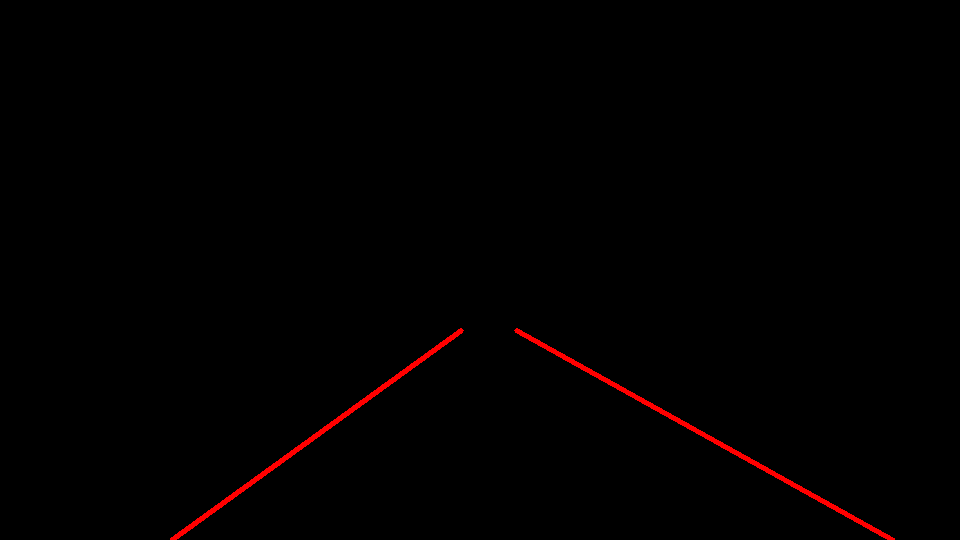
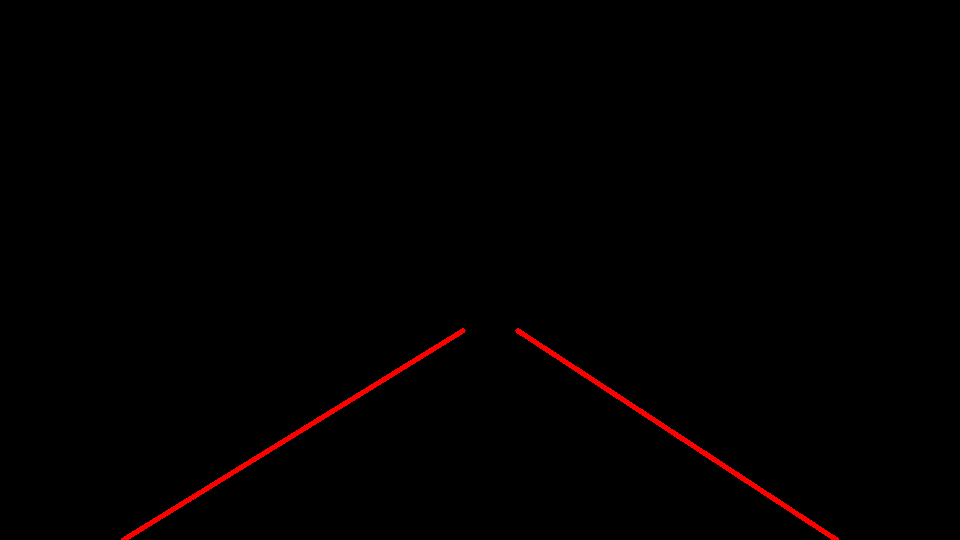
Applying Hough transform
In [259]:
rho = 1 # distance resolution in pixels of the Hough grid
theta = np.pi/180 # angular resolution in radians of the Hough grid
threshold = 10     # minimum number of votes (intersections in Hough grid cell)
min_line_length = 20 #minimum number of pixels making up a line
max_line_gap = 1    # maximum gap in pixels between connectable line segments

houghAction = lambda img: hough_lines(img, rho, theta, threshold, min_line_length, max_line_gap)

testImagesLines = doSaveAndDisplay(testImagesMasked, 'test_images_hough', testImageNames, houghAction)
Merging original image with lines
In [260]:
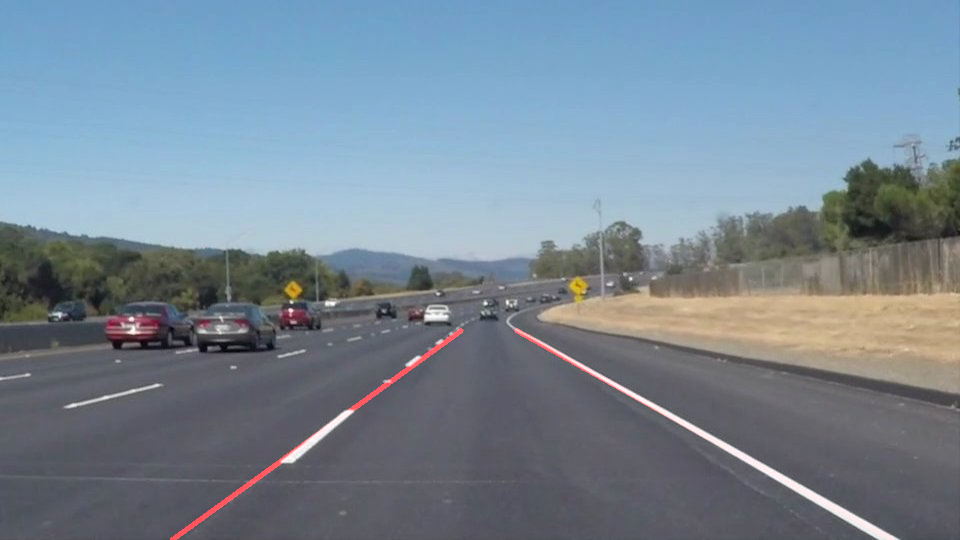
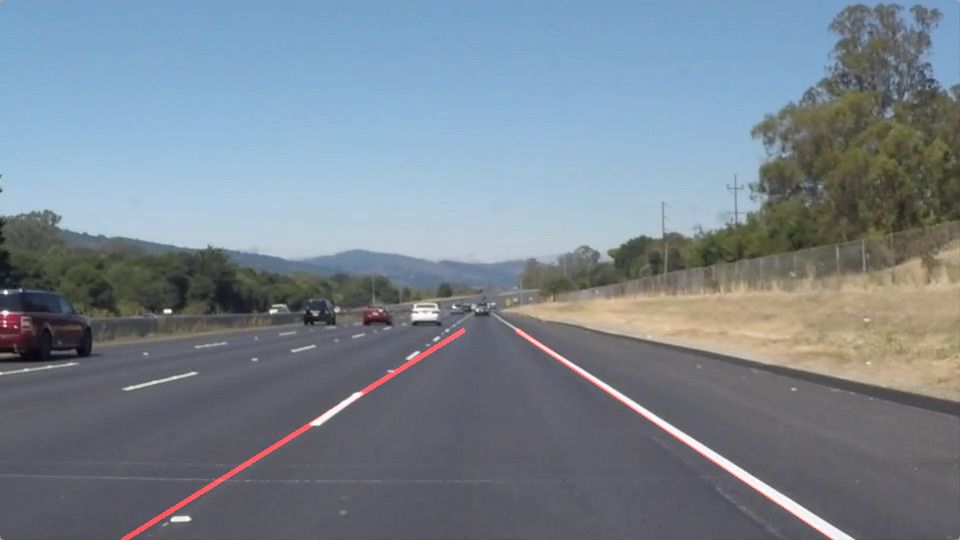
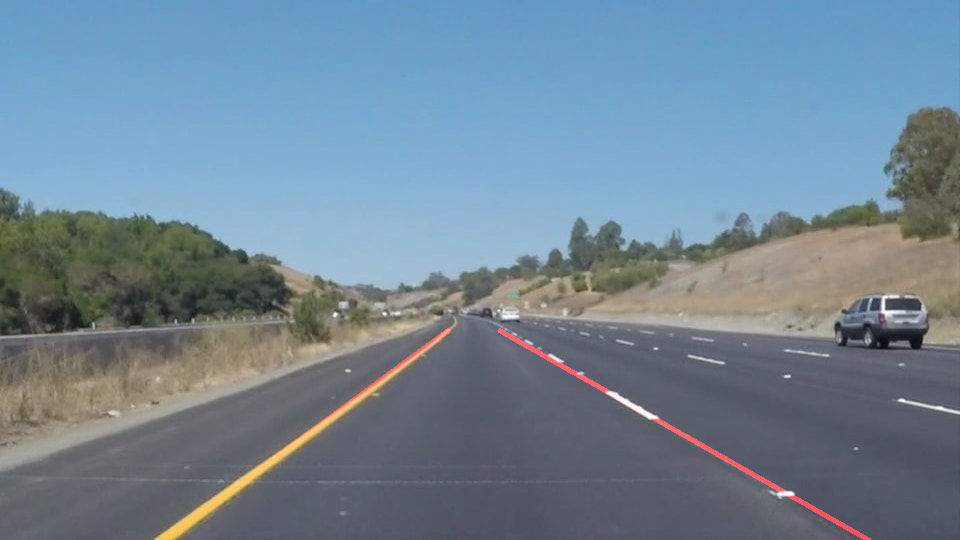
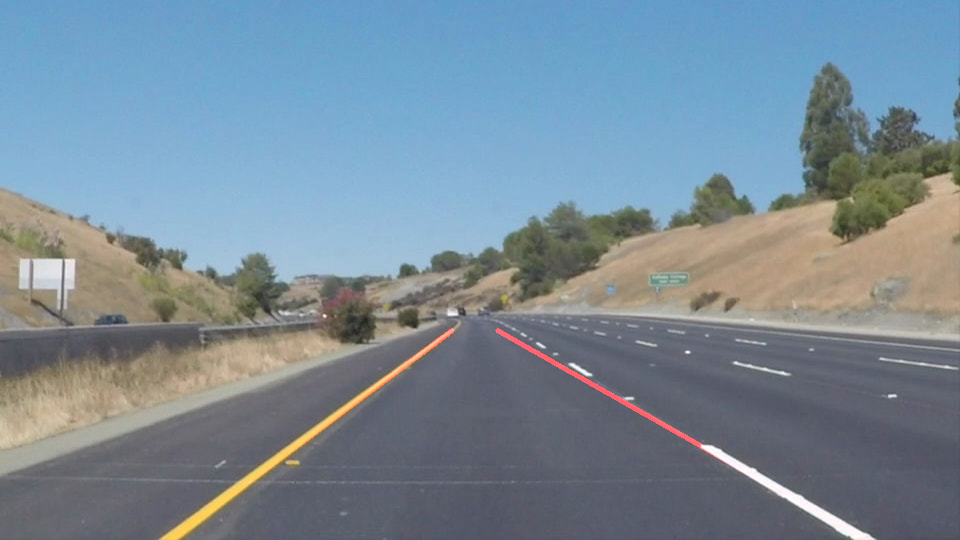
testImagesMergeTemp = list(map(lambda imgs: weighted_img(imgs[0], imgs[1]), zip(testImages,testImagesLines) ))
testImagesMerged = doSaveAndDisplay(testImagesMergeTemp, 'test_images_merged', testImageNames, lambda img: img)
Videos test
In [261]:
# Import everything needed to edit/save/watch video clips
from moviepy.editor import VideoFileClip
from IPython.display import HTML
In [262]:
def process_image(image):
    # NOTE: The output you return should be a color image (3 channel) for processing video below
    # TODO: put your pipeline here,
    # you should return the final output (image where lines are drawn on lanes)

    withLines = houghAction( maskAction( cannyAction( blurAction( grayAction(image) ) ) ) )

    return weighted_img(image, withLines)


def processVideo(videoFileName, inputVideoDir, outputVideoDir):
    """
    Applys the process_image pipeline to the video `videoFileName` on the directory `inputVideoDir`.
    The video is displayed and also saved with the same name on the directory `outputVideoDir`.
    """
    if not os.path.exists(outputVideoDir):
        os.makedirs(outputVideoDir)
    clip = VideoFileClip(inputVideoDir + '/' + videoFileName)
    outputClip = clip.fl_image(process_image)
    outVideoFile = outputVideoDir + '/' + videoFileName
    outputClip.write_videofile(outVideoFile, audio=False)
    display(
        HTML("""
        <video width="960" height="540" controls>
          <source src="{0}">
        </video>
        """.format(outVideoFile))
    )
White lane video test
In [263]:
testVideosOutputDir = 'test_videos_output'
testVideoInputDir = 'test_videos'
processVideo('solidWhiteRight.mp4', testVideoInputDir, testVideosOutputDir)
Yellow lane video test
In [250]:
processVideo('solidYellowLeft.mp4', testVideoInputDir, testVideosOutputDir)
Challenge video test (not so great....)
In [251]:
processVideo('challenge.mp4', testVideoInputDir, testVideosOutputDir)
In [ ]:
